

Step 1
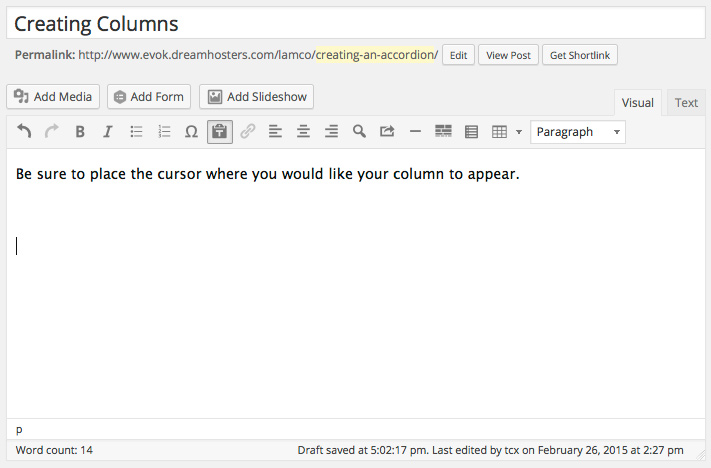 In order to add a column directly into a post or onto a page you must be editing the page. Place your cursor where you want to add the column.
Step 2
 Click
Click Insert Columns.Step 3
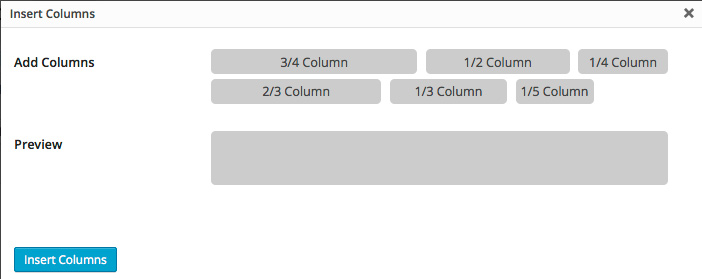 A window will appear giving you options for how many columns, and how much room each column will take.
Step 4
 To select a column, click from the
 Add Columns area. This will display in the preview, and you can unselect the choice by clicking on the column in the preview area.Step 5
 Finally, click the
 Insert Columns” button.Step 6
 For each column, highlight with the cursor from after the
 C to the end of the number. Input your content, and then delete the C. This will keep the column from getting messed up when editing in the Visual mode.Step 6
Your new columns should look something like this:
New Content
New Content
New Content